
To make a nest, you will need:
- A small grapevine wreath
- Moss
- Cardboard scrap the size of your wreath
- Eggs or stones to paint as eggs
- Paint (if you plan to paint stones to resemble eggs)
 1. Cut your cardboard to the size of the wreath. Make sure there's enough overlap to hot-glue the cardboard to the wreath without having the cardboard extend beyond the wreath's edges.
2. Run a bead of hot glue around the edge of the cardboard. Be generous!

I had to apply pressure to the cardboard for quite a while to ensure the glue was doing it's job.

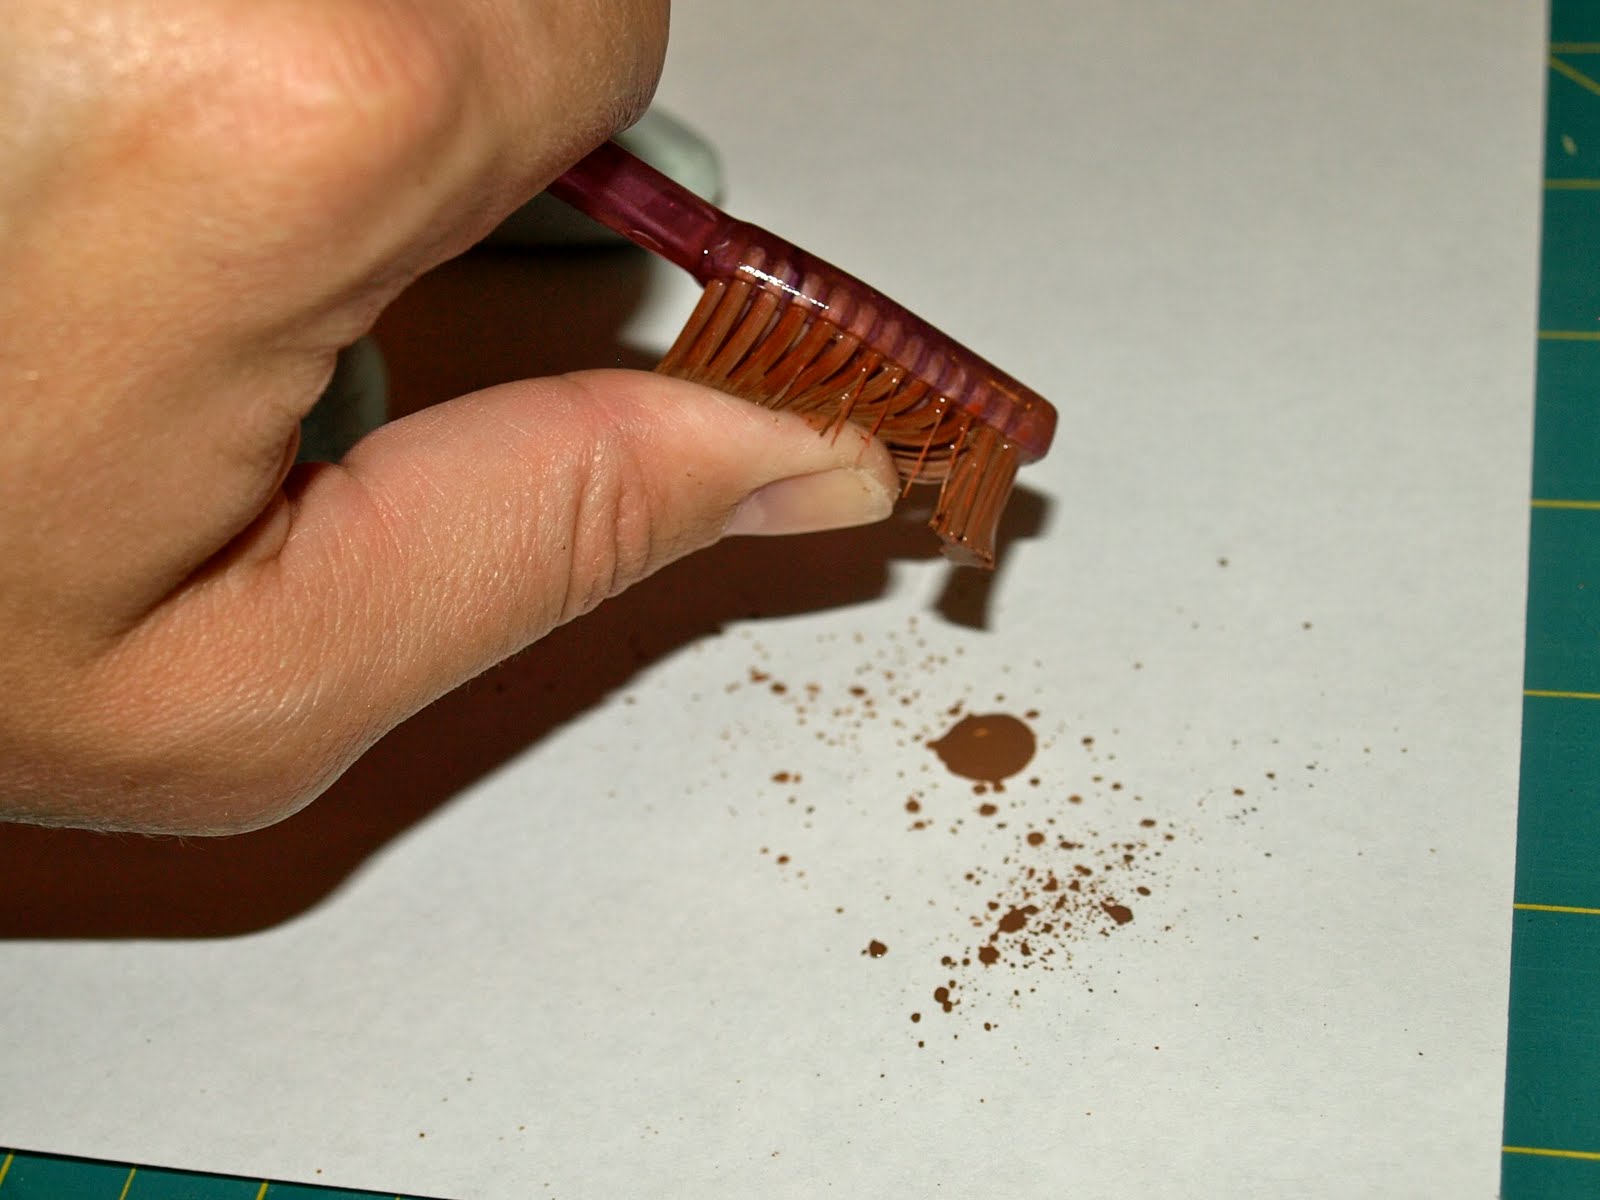
3. My stones were already a pretty color to resemble eggs. If you're using rocks and need to paint them light blue or green, do that before you begin the rest of the project. To attain the speckled egg look, I used watered-down paint and an old toothbrush.

Dip your brush in the paint, and use your thumb to flick the paint. Test the technique out a couple of times on some scrap paper first until you are pleased with your results.
Now transform your rocks into little speckled eggs!

4. I must have skipped taking pictures of how I applied the moss. I just used hot glue to apply the moss in a random way on the wreath/cardboard. I continued to layer the moss until I had the cardboard completely covered. I was sure to leave enough of the wreath visible, as it's what makes this look like a more genuine bird's nest.
5. Now nestle your eggs into the moss, and admire your work.

Here's my nest in it's new environment. I think it's the perfect solution to my melting candles conundrum.

I love the pops of blue and green added by the rocks and moss. I think it makes just enough of a statement in my hanging lantern.


I'm linking to these wonderful parties this week:


Your birds nest looks wonderful in the lantern! good idea! And the glimpse I got of your outdoor space looks beautiful : ) happy thursday!
ReplyDeleteFantastic! I love things like this, but I am the most un-crafty person around. My creations would never be as nice as this! I'm visiting with everything etsy and I'm your newest follower! I'd love to have you visit me too!
ReplyDeletelove this idea believe I will incorporate it into a gift for my mother she loves birds,
ReplyDeleteWhat a fantastic idea! I have the same problem with my poor outdoor lanterns. This is so clever. I love the rock eggs - adorable! Thanks so much for joining the Sunday Showcase. Hope you have a wonderful week! ~ Stephanie Lynn
ReplyDeleteHi Kate, Just wanted to let you know I featured your bird nests today. Stop by and grab a featured button if you like. Thanks again for joining the Sunday Showcase Party - I greatly apprecite it! ~ Stephanie Lynn
ReplyDeleteThat is darling :)
ReplyDeleteI commented on your darling children's kitchen post and had a little peek throught the rest of your wonderful blog!
ReplyDeleteI have really enjoyed my visit her and look forward to many more!
Enjoy!
Cathy