
After trying out a compulsory post-baby short haircut, I've been working hard at growing it back these past few months. I can't explain why I made this decision as the hot summer was approaching, but I did, and now I wear a lot of ponytails. Yesterday, I whipped up a fun little headband to dress-up my daily pony. I can now rest assured that I'll make it through the remainder of these summer days feeling stylish and keeping cool.
Here's what you'll need to make your own:
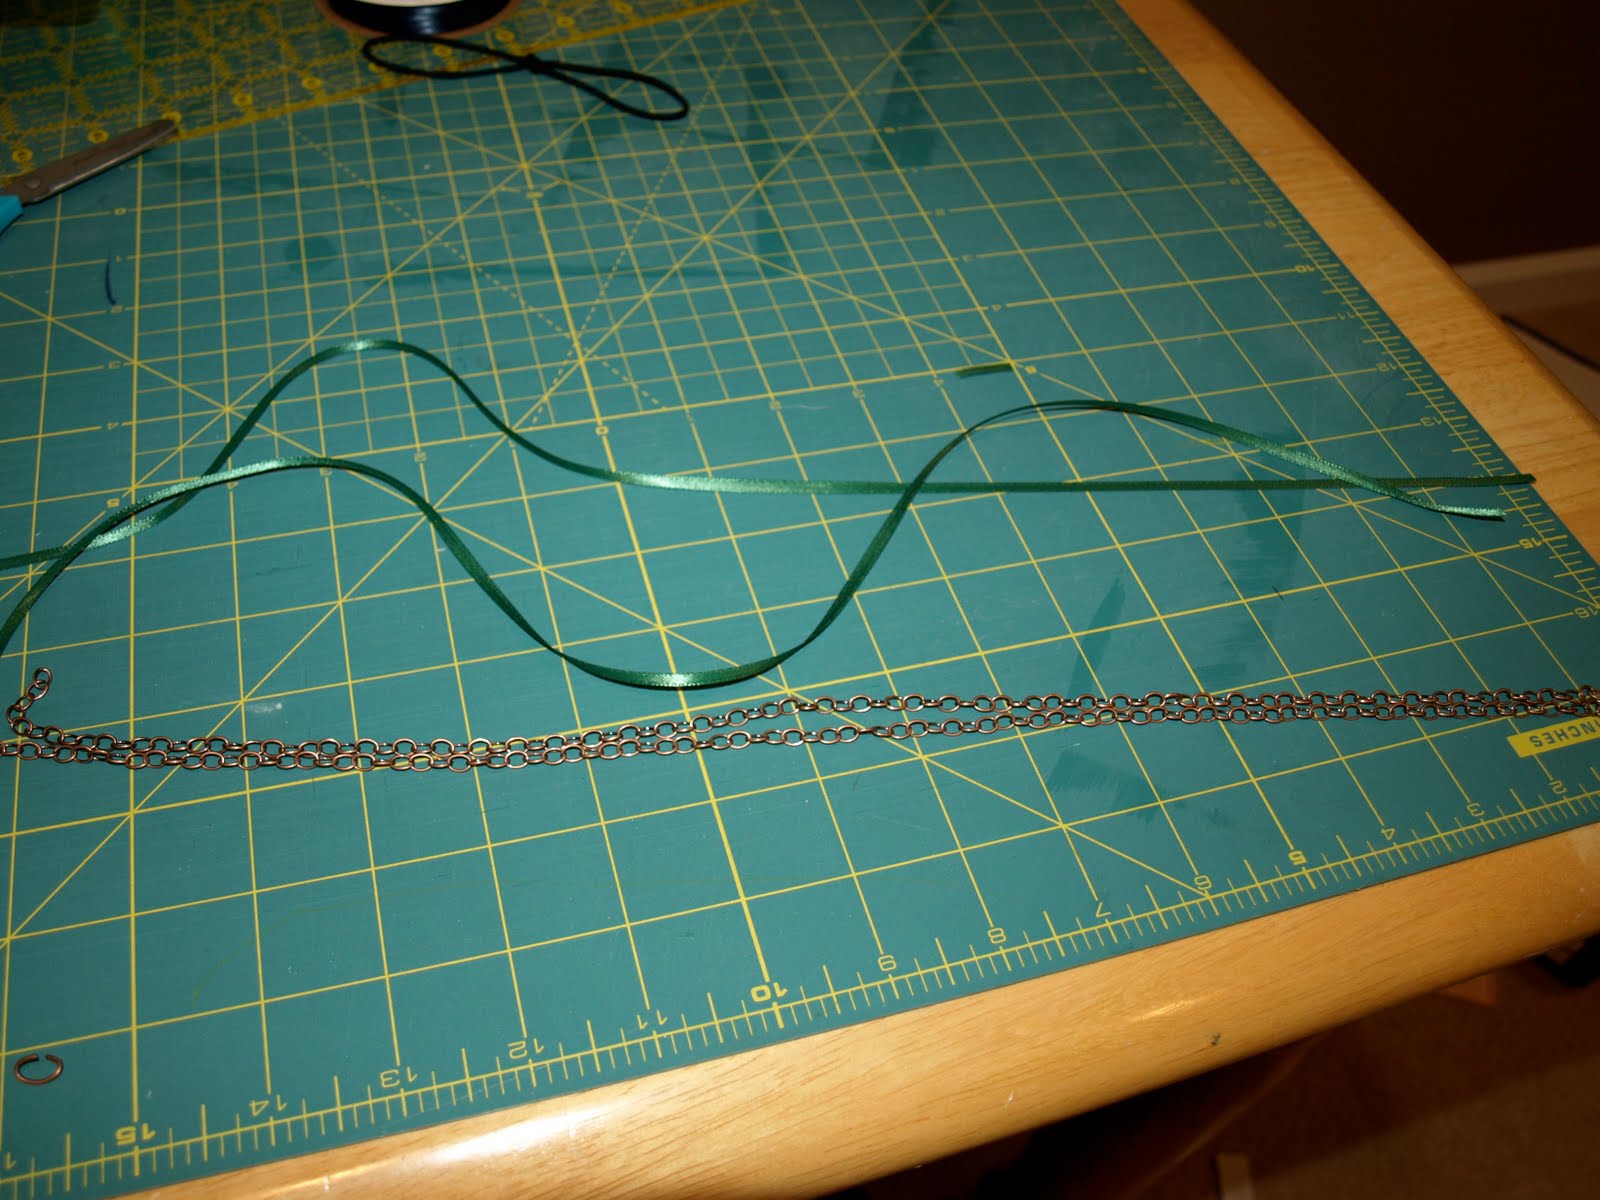
- Ponytail Holders (I used the larger, skinny ones)
- Ribbon (1/8" wide)
- Chain: make sure the links are wide enough to pass the ribbon through (I used 2 17-inch lengths)
- Jump Rings

1. Slip 2 ponytail holders together to form a longer elastic like this:

When you pull them tight, they'll look like this:

2. Cut 2 pieces of ribbon and 2 lengths of chain. I prefer my headbands to fit a little loosely, and my chains were 17 inches long. (I admit to having a big head...you might want to measure to see how long your chains should be!) I cut 2 pieces of 22-inch ribbon.You'll trim this down at the end. It's just important to not run short on the ribbon!
3. Singe one end of the ribbon to keep it from fraying.

4. Weave the end of the ribbon through 2 links on the chain. I left a link open on each end of the chain to allow for later adjustment.

5. Apply glue to the end of the ribbon and fold it across the 2 links you've woven through to secure.

It should look like this:

6. After the glue has had time to dry, begin to weave the ribbon back and forth through the links of the chain. I found it to be most efficient to hold the chain like this in one hand, while weaving with the other.

This is what the chain and ribbon will look like as you weave:

Continue until you've completed the entire chain like this:

7. To secure the end, trim off excess ribbon to leave just a little tail and singe the end again.

Carefully pull a loop of ribbon away from the chain and glue the end to the loop. Once the glue has dried, you should be able to pull the chain back tight over the ribbon.

After you have completed the weaving of both chains, you'll be ready to secure them to the elastic.
8. Using a needle-nosed pliers, open the jump ring. Thread it onto the ends of both chains, as well as one side of the elastic.

Close the ring tightly. It should look like this:

9. Repeat step 8 with the other ends of the chain and the opposite side of the elastic.
Your finished headband should look like this:

Doesn't my plain ponytail look funkier with the new headband?
 I'm looking forward to making these in a couple different colors. Wouldn't thin strips of fabric look cool woven through the chain? That might be what I try next!
I'm sharing my idea with these fine parties this week:


What a fun tutorial!! Love it!! Oh, and to answer your question about the fireplace...I'd LOVE to get rid of the brass, but unfortunately, we're renters right now...so the brass stays...sigh. (But if you have any ideas on how to camoflage it, I'm all ears!!)
ReplyDeleteThanks for linking!!
Very cute!
ReplyDeleteWe are in CO, too! What a great tutorial!
ReplyDeleteYou had me at "funky"! :)
ReplyDeleteVery cute headband. Your tutorials are really well done.
ReplyDeleteLovely and just right for dressing up the plain ponies!
ReplyDeletebrilliant it really helped apart from the fact that i am 12 years old and i cant get the supplies :(
ReplyDeleteThat looks great! Thanks.
ReplyDelete